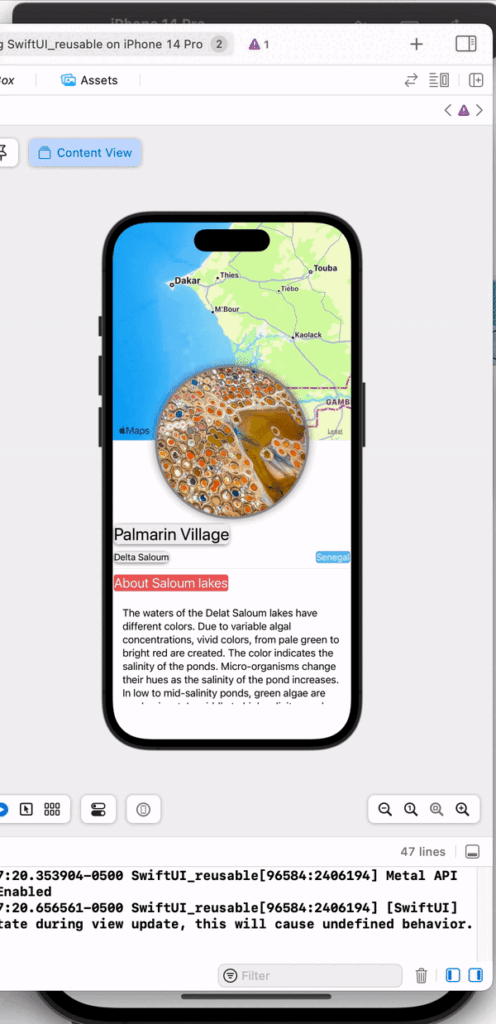
In today’s article we will use Mapkit to display a map along with a few texts while combining views. We will recycle views using old projects views. We will get this as a final product.
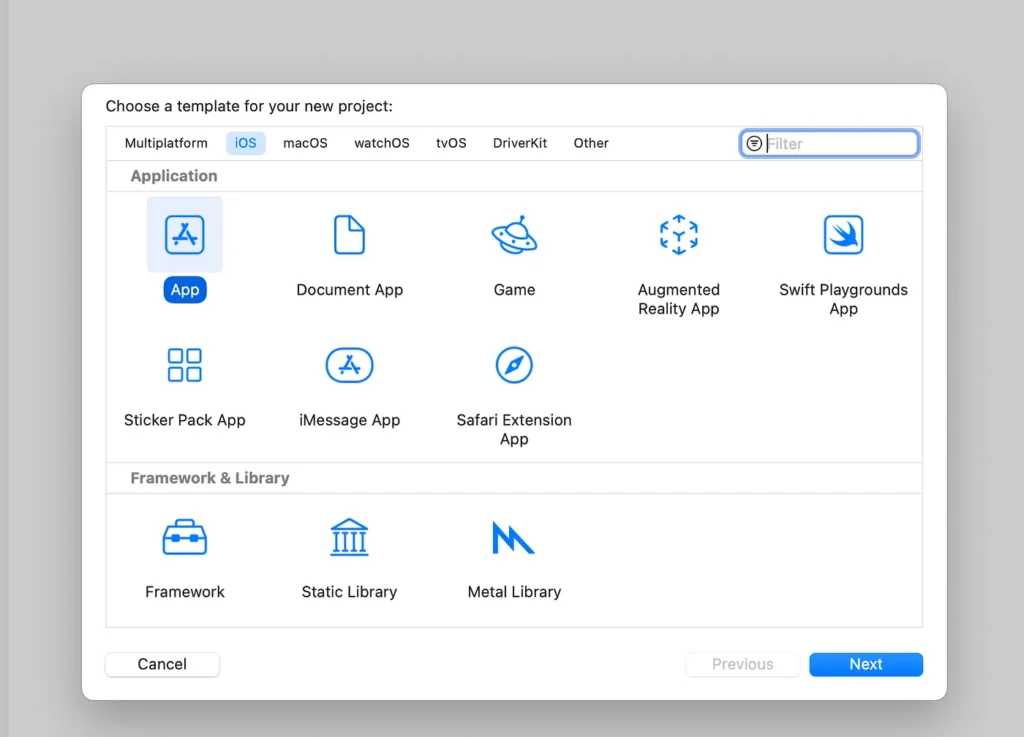
To start, let us create a project with SwiftUi
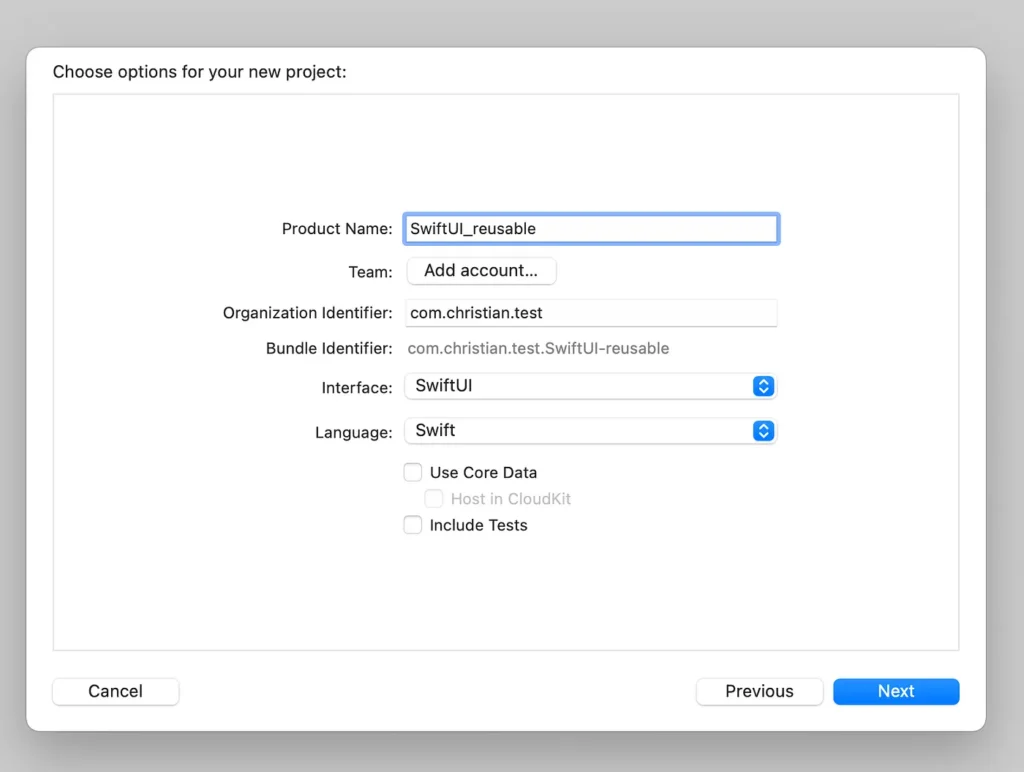
The interface dropdown selected is swiftUi.
We will have multiples views. The mapView using Mapkit, a red, blue and shadow box looking like area, an image in a circle, and some text.
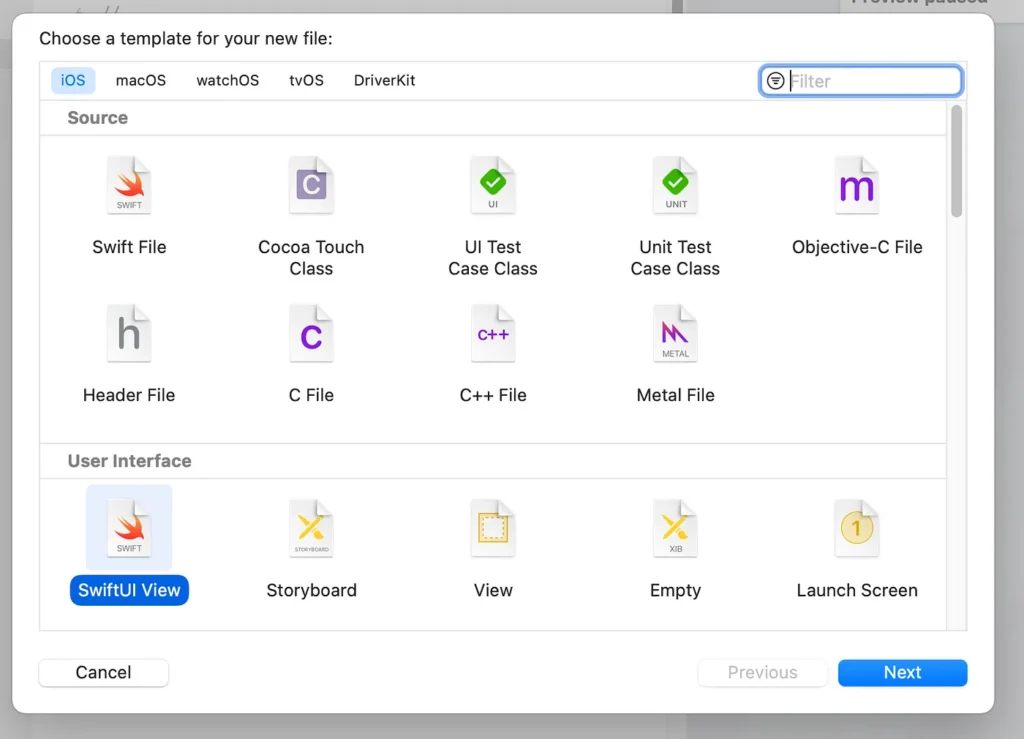
We would need a map. We choose MapKit. We create a swiftUi View file. In Xcode>File>New>File> create and select SwitUI View that we name in our case Map4View (typo :D).
In this file we type the following:
import SwiftUI
import MapKit

struct Map4View: View {

    @State private var region = MKCoordinateRegion(
            center: CLLocationCoordinate2D(latitude: 14.016667, longitude: -16.766667),
            span: MKCoordinateSpan(latitudeDelta: 2, longitudeDelta: 2)
        )

    var body: some View {
        Map(coordinateRegion: $region)
    }
}

struct Map4View_Previews: PreviewProvider {
    static var previews: some View {
        Map4View()
    }
}
We have created a map view. Inside the struct Map4View, we have the variable region that use coordinates and delta inside the functions MKCoordinateRegion, CLLocationCoordinate2D, MKCoordinateSpan to transform them into data “ingest-able” by the function Map in the “body View”
From prior project we have a few views that we have created. They are saved in a folder on my computer.
Inside the folder we have a few UI.
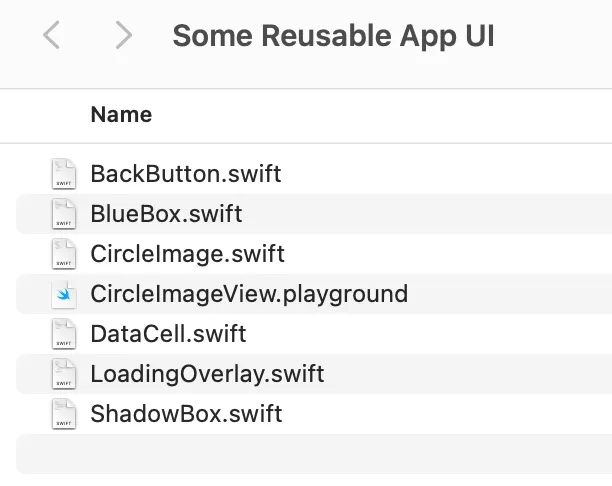
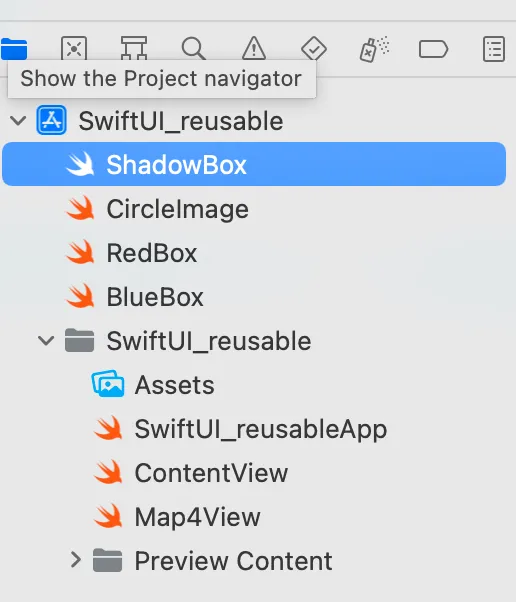
we select a few, drag and drop inside the App project.
This is the CircleImage.swift and its preview.
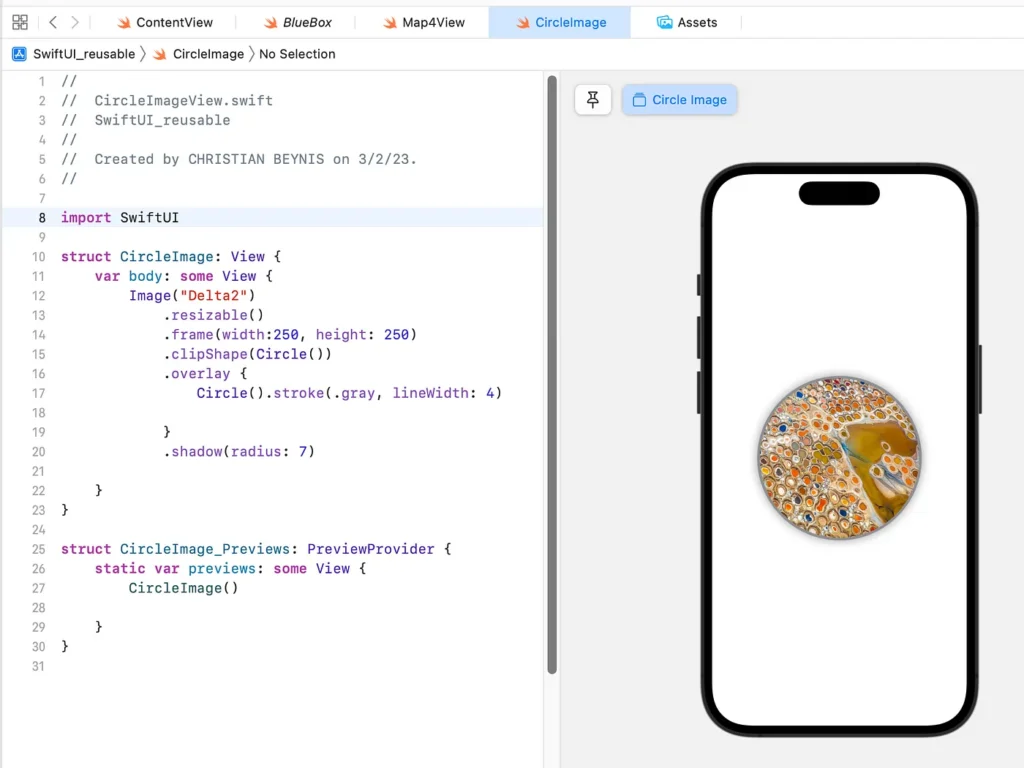
We have an overlay that is the gray ring. The shape of the image is defined by clipShape(Circle()). We adjust the frame width and height so that large image do not take up the entire screen with .resizable().frame(width: , height: )
The Redbox, ShadowBox and BlueBox are pretty similar. They set the set the color and shape of a box. You can use the code provided below to play around with the box. Let us look at BlueBox.swift.
import SwiftUI

struct BlueBox: ViewModifier {
    func body(content: Content) -> some View {
        content
            .background(RoundedRectangle(cornerRadius: 4).fill().foregroundColor(Color(red: 0.37, green: 0.75, blue: 0.95)))
            .background(RoundedRectangle(cornerRadius: 4).stroke().foregroundColor(
                Color(red: 0.25, green: 0.25, blue: 0.85)
            ))
            .foregroundColor(.white).padding(.horizontal, 2).padding(.vertical, 1)
    }
}

extension View {
    func blueBox() -> some View {
        modifier(BlueBox())
    }
}
In the contentView.swift file we have:
var body: some View {
        VStack {
                    Map4View()
                        .ignoresSafeArea(edges: .top)
                        .frame(height: 300)

                    CircleImage()
                        .offset(y: -130)
                        .padding(.bottom, -130)

            VStack(alignment: .leading) {
                Text("Palmarin Village")
                    .font(.title)
                    .shadowBox()

                HStack {
                    Text("Delta Saloum")
                        .font(.subheadline)
                        .shadowBox()
                    Spacer()
                    Text("Senegal")
                        .font(.subheadline).blueBox()
                }

                Divider()

                Text("About Saloum lakes").redBox()
                    .font(.title2)
                ScrollView{
                    Text("The waters of the Delat Saloum lakes have different colors. Due to variable algal concentrations, vivid colors, from pale green to bright red are created. The color indicates the salinity of the ponds. Micro-organisms change their hues as the salinity of the pond increases. In low to mid-salinity ponds, green algae are predominant. In middle to high salinity ponds, an algae called Dunaliella salina shifts the color to red. Millions of tiny brine shrimp create an orange cast in mid-salinity ponds. Other bacteria such as Stichococcus also contribute tints.")
                }
                .padding()}

                    Spacer()
                }
            }
In a Vertical stack we have: Map4View(), below CircleImage() and underneath another Vertical Stack Vstack with text and horizontal Stack HStack. In the Hstack: text, spacer(), text (spacer() fills up the space). After the HStack, divider() gives us a nice line. We have a text and inside a scrollview another text.
Now we can decide to place each test within a box by doing the following:
Text("About Saloum lakes").redBox()
                    .font(.title2)
This embeds the text in a rectangular red box.

What does this do for the text?
Text("Palmarin Village")
                    .font(.title)
                    .shadowBox()
The contenView file codes:
import SwiftUI

struct ContentView: View {
    var body: some View {
        VStack {
                    Map4View()
                        .ignoresSafeArea(edges: .top)
                        .frame(height: 300)

                    CircleImage()
                        .offset(y: -130)
                        .padding(.bottom, -130)

            VStack(alignment: .leading) {
                Text("Palmarin Village")
                    .font(.title)
                    .shadowBox()

                HStack {
                    Text("Delta Saloum")
                        .font(.subheadline)
                        .shadowBox()
                    Spacer()
                    Text("Senegal")
                        .font(.subheadline).blueBox()
                }

                Divider()

                Text("About Saloum lakes").redBox()
                    .font(.title2)
                ScrollView{
                    Text("The waters of the Delat Saloum lakes have different colors. Due to variable algal concentrations, vivid colors, from pale green to bright red are created. The color indicates the salinity of the ponds. Micro-organisms change their hues as the salinity of the pond increases. In low to mid-salinity ponds, green algae are predominant. In middle to high salinity ponds, an algae called Dunaliella salina shifts the color to red. Millions of tiny brine shrimp create an orange cast in mid-salinity ponds. Other bacteria such as Stichococcus also contribute tints.")
                }
                .padding()}

                    Spacer()
                }
            }
}

struct ContentView_Previews: PreviewProvider {
    static var previews: some View {
        ContentView()
    }
}
This is pretty much it. We can run and see the result. Play a bit with the codes. If you have questions, ask in comments.
Github link: soon available
Website: www.softprotoinc.com
Github id: Chrisb5a
Interested in learning new skills or working on a project, please feel free to contact.

